Wednesday, 23 November 2016

International Project Highlights - Love:


Welcome to our International Visual Blog Hop using current Stampin' Up!® Products. We have all created this gallery of projects for you to be inspired by! We would love it if you could visit every one of our blogs and see a close up of our projects. Our theme this month is LOVE because as card makers we love spreading the love. You can see the gallery below and this will be on every blog that you click on so you will never be lost.

We can never have or give too much love, right?!  I'm so grateful for the love and support of my wonderful husband that I'm sure I'll be giving this card to him in the very near future.
Stampin Up, #InternationalProjectHighlights, #thecraftythinker, Paisleys & Posies, Love, masculine card, Stampin Up Australia Demonstrator, Stephanie Fischer, Sydney NSW
A Paisley expression of love

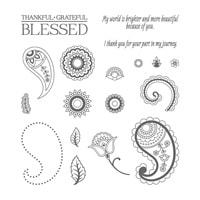
I used the Paisleys & Posies stamp set to create the background but stamped more of the paisleys and less of the posies for a masculine look.  I stamped with Basic Black ink and coloured with a Real Red Stampin' Write Marker.

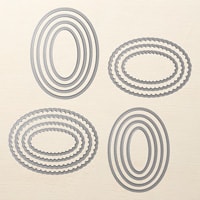
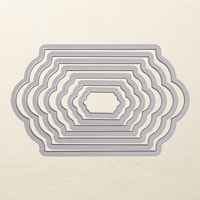
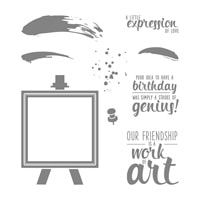
The greeting is from the Painter's Palette stamp set and I cut it out with one of the oval Stitched Shapes framelits which I layered on top of one of the scalloped Layered Ovals framelits.

The Basic Black Stitched Satin Ribbon and Real Red Cotton Ribbon are both from my stash of retired ribbon - for which I apologise but they were the only ones I had that did the job for this card.

Thanks for visiting my blog today, there are so many amazing ideas and inspiration you don't want to miss. We know that you will love our gallery of projects made from Stampin' Up!® Demonstrators around the world! Just click on the thumb nail image to link to the blog post and get a better view and more information.

Thanks for visiting.
'Til next time!
Stephanie


Product List - To visit my online store - click on a product image below (Australian Residents only)


Monday, 21 November 2016

Santa's Sleigh Christmas Table Favour box

I finally decided what to make for my Christmas table this year!  So far I've made 10 of the 16 that I need - so I'm feeling quite pleased with myself!  These little boxes will serve as table place names and little treat holders.
Stampin Up, Christmas, Xmas, Table Favour, Treat Box, Santa's Sleigh, Favor, Pretty Pines, Christmas box, Stampin Up Australia Demonstrator, Stephanie Fischer, Castle Hill NSW
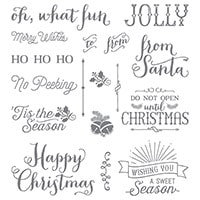
The greeting is from the Oh, What Fun stamp set

The boxes are really easy to make with the Envelope Punch Board and the rest is mostly just die cutting and gluing!
Stampin Up, Christmas, Xmas, Table Favour, Treat Box, Santa's Sleigh, Favor, Pretty Pines, Christmas box, Stampin Up Australia Demonstrator, Stephanie Fischer, Castle Hill NSW
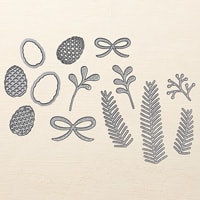
I cut the layers of Santa's Sleigh Thinlits from Silver Foil, Gold Glimmer and Cherry Cobbler cardstocks

I decided on the measurements for my box by measuring the things I plan to put in them.  I took some hints from France Martin and was able to work out my dimensions without much difficulty.  To make a box 1 3/8" deep x 3 1/4" long x 2 5/8" wide, I did the following:

  • Cut a 7" square of cardstock
  • Lined the edge of the cardstock up in the envelope punch board at 2 1/4" 
  • Punched and scored in accordance with punch board instructions
  • Moved the cardstock along to line up at 4 1/4"
  • Punched and scored in accordance with punch board instructions
  • Rotated the cardstock to the next edge.  Lined up the first score line with the Score guide.
  • Punched and scored
  • Moved along to line up the next score line with Score Guide
  • Punched and scored
  • Repeated until all four sides were punched and scored.
  • At one end, I cut along the score lines each side of the tab just as far as the next score line to form reinforcement tabs.
  • At the other end I cut off the little squares altogether.
 
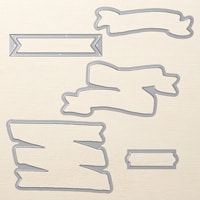
To make the little banners, I used one of the dies from the Bunch of Banners die set and curled the end around a tooth pick before trimming off the sharp ends of the tooth pick.  I didn't want the toothpick to show from the back, so I did add another layer of Cherry Cobbler to the back of the sleigh.

Thanks for visiting.
'Til next time!
Stephanie

Product List - To visit my online store - click on one of the product images below (Australian Residents only)

Sunday, 20 November 2016

Stitched Up Christmas Mouse

I have entered this card into the Case This Card Challenge #CTC015.  Do pop by and take a look at the great cards or think about entering one of the challenges yourself!  They're great fun!  http://www.jessieholton.com/2016/12/14.html  http://www.jessieholton.com/2016/12/21.html

Stampin Up, #thecraftythinker, #crazycraftersbloghop, Stitched Shapes, Christmas Card, Xmas, Merry Mice, Forever Evergreen, Stampin Up Australia Demonstrator, Stephanie Fischer, Sydney NSW
I used Versamark and gold embossing powder to stamp the bauble images

As you can see, the Stitched Shapes framelits combine well with the Layering Ovals, Squares and Circles die sets.  Unfortunately, due to the huge demand, these framelits are temporarily unavailable.  I will post up the information when they are available again.
Stampin Up, #thecraftythinker, #crazycraftersbloghop, Stitched Shapes, Christmas Card, Xmas, Merry Mice, Forever Evergreen, Stampin Up Australia Demonstrator, Stephanie Fischer, Sydney NSW
Dimensionals help to layer the images and add depth

For this card I used a mouse image from the Merry Mice stamp set, some baubles from the Forever Evergreen stamp set and the banner from Seasonal Bells which is cut with the matching dies from the Bunch of Banners Framelits.  I used Stampin Dimensionals to add depth to the card.

The images are coloured with Many Marvelous Markers and I used gold embossing powder for the bauble images.

The finished card is 6" x 5.25" in Real Red cardstock, layered with This Christmas Specialty DSP.

Thank you for visiting.  I hope you've enjoyed this card and I welcome your comments. 


'Til next time.
Stephanie

PS  Check here to see the stamp sets that are currently on sale (25% off!) until 30th November.

Product List - To visit my online store - click on a product image below (Australian Residents only)