Showing posts with label Gift box. Show all posts

Friday, 16 March 2018

Ink it! Stamp it! Design Team Blog Hop : 3D

No automatic alt text available.

Welcome to the Ink it! Stamp it! Design Team Blog Hop - we hop every month so be sure to pop back and visit us again!  Today our theme is 3D projects - something I find quite challenging!

You are currently at my page - Stephanie Fischer, The Crafty Thinker.  At the end of my post there is a full line up of team members, please click on the name after mine in the list to continue the hop.

3D is not my natural habitat so I sought help and found it in Kirsteen Gill's blog.  She has very generously provided a tutorial for elongating the Window Box which is currently the most underused item in my craft room. 
#thecraftythinker, #stampinup, #cardmaking, #inkitstampit, 3D, Window Box, Stampin' Up! Australia Demonstrator, Stephanie Fischer, Sydney NSW
An 8 1/4" tall box that I think is gender neutral
Following her instructions, I used one 12" sheet of Basic Black cardstock and 8" x 1.75" strips of Petal Passion Designer Series Paper. 
#thecraftythinker, #stampinup, #cardmaking, #inkitstampit, 3D, Window Box, Stampin' Up! Australia Demonstrator, Stephanie Fischer, Sydney NSW
A little flower, tassel and Glitter Enamel Dot decorate the front of the box and assist with lifting the lid
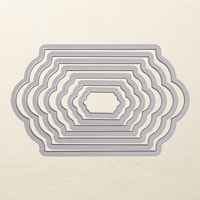
I made a little tag by elongating the smallest of the Lots of Labels dies and scored it in the middle.  Half is adhered to the top of the box and the other half supports a tassel and a little gold flower.
#thecraftythinker, #stampinup, #cardmaking, #inkitstampit, 3D, Window Box, Stampin' Up! Australia Demonstrator, Stephanie Fischer, Sydney NSW
The gold flower on the top is paper-pieced - Multipurpose Adhesive Sheet makes the process quite straight forward
The decoration for the top of the box is cut in Whisper White and I've added a layer of Rich Razzleberry underneath it.  Using a little scrap of leftover Gold Foil Sheet (with Multipurpose Adhesive Sheet attached) I paper-pieced the flower in the centre of the top.

Although there are flowers all over this box, I think that the colour scheme keeps the project gender neutral.

I hope you've enjoyed this project and I welcome your comments.

Thank you so much for joining us today.  We hope you'll join us again next month for our Technique-based Projects!  I'm Stephanie Fischer and to keep hopping arouond, see the list below to see who is up next with another great project!

Thanks for visiting.
'Til next time!
Stephanie


Product List - available in my online store

Monday, 21 November 2016

Santa's Sleigh Christmas Table Favour box

I finally decided what to make for my Christmas table this year!  So far I've made 10 of the 16 that I need - so I'm feeling quite pleased with myself!  These little boxes will serve as table place names and little treat holders.
Stampin Up, Christmas, Xmas, Table Favour, Treat Box, Santa's Sleigh, Favor, Pretty Pines, Christmas box, Stampin Up Australia Demonstrator, Stephanie Fischer, Castle Hill NSW
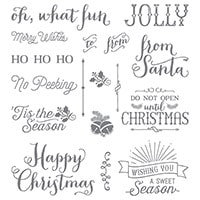
The greeting is from the Oh, What Fun stamp set

The boxes are really easy to make with the Envelope Punch Board and the rest is mostly just die cutting and gluing!
Stampin Up, Christmas, Xmas, Table Favour, Treat Box, Santa's Sleigh, Favor, Pretty Pines, Christmas box, Stampin Up Australia Demonstrator, Stephanie Fischer, Castle Hill NSW
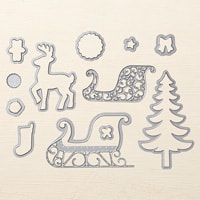
I cut the layers of Santa's Sleigh Thinlits from Silver Foil, Gold Glimmer and Cherry Cobbler cardstocks

I decided on the measurements for my box by measuring the things I plan to put in them.  I took some hints from France Martin and was able to work out my dimensions without much difficulty.  To make a box 1 3/8" deep x 3 1/4" long x 2 5/8" wide, I did the following:

  • Cut a 7" square of cardstock
  • Lined the edge of the cardstock up in the envelope punch board at 2 1/4" 
  • Punched and scored in accordance with punch board instructions
  • Moved the cardstock along to line up at 4 1/4"
  • Punched and scored in accordance with punch board instructions
  • Rotated the cardstock to the next edge.  Lined up the first score line with the Score guide.
  • Punched and scored
  • Moved along to line up the next score line with Score Guide
  • Punched and scored
  • Repeated until all four sides were punched and scored.
  • At one end, I cut along the score lines each side of the tab just as far as the next score line to form reinforcement tabs.
  • At the other end I cut off the little squares altogether.
 
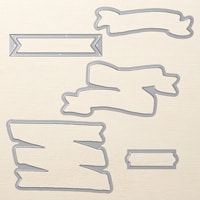
To make the little banners, I used one of the dies from the Bunch of Banners die set and curled the end around a tooth pick before trimming off the sharp ends of the tooth pick.  I didn't want the toothpick to show from the back, so I did add another layer of Cherry Cobbler to the back of the sleigh.

Thanks for visiting.
'Til next time!
Stephanie


Product List - To visit my online store - click on one of the product images below (Australian Residents only)