I had so much fun with the Joseph's Coat technique for yesterday's Blog Hop that I thought I'd take it a bit further.
I have also included here a short video tutorial.
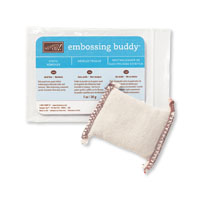
- The centre panel started life as a piece of Whisper White cardstock. I rubbed it with my Embossing Buddy before I started - I think that step is quite important in order to control the embossing powder.
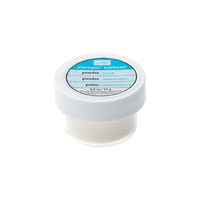
- Using the zig-zag stamp from Work of Art, I inked it well with Versamark and then tapped it into Tempting Turquoise ink before stamping onto one end of my white panel. I then immediately sprinked it with clear embossing powder.
- I then wiped my stamp clean with a damp cloth, dried it (with my hand!) and repeated the process at the other end of the panel.
- I then used the greeting from Mixed Borders but only used Versamark before sprinkling with the clear embosing powder.
- The next step was the circle of dots from Perfectly Wrapped, again just using Versamark and clear embossing powder.
- Then I used the large solid flower from Perfectly Wrapped, coated it with Versamark and then tapped it into Peakaboo Peach ink, stamped it on my panel and sprinkled with clear embossing powder. I reapeated this twice so that I had three Peakaboo Peach flowers.
- Using the small solid flower from Perfectly Wrapped, I used Versamark then Sweet Sugarplum before stamping and adding embossing powder. I stamped five of these.
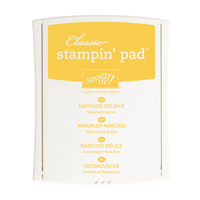
- Next was the small flower (or star) outline from Perfectly Wrapped, for which I used Versamark and Daffodil Delight ink before adding the embossing powder.
- Lastly I used the dots from the No Bones About It stamp set with just Versamark before applying the embossing powder.
- After using the heat tool and allowing it to cool for a minute or two, I sponged with Dapper Denim ink and then used a tissue to wipe the ink from the heat embossing.
- I added White Perfect Accents to the centres of the Peakaboo Peak flowers and Rhinestones to the centres of the smaller flowers.
- I wrapped some Solid Bakers Twine around the bottom of the panel (it was Whisper White twine that I died Peakaboo Peach) and then finished the card layers.
- Main card: Sweet Sugarplum. Cut a 4.25" wide piece from an A4 sheet. Fold in half to produce a card that is 4.25" by just under 6" (5 7/8 to be exact!).
- Whisper White: 3 1/2" x 5 1/8"
- Dapper Denim: 3 3/8" x 5"
- Josheph's Coat panel: 3 1/8" x 4 3/4"
 |
| This is the card I made with the panel from the video tutorial. The colours are Flirty Flamingo & Peakaboo Peach |
- Keep to hand a damp cloth (to clean the stamps) and your clear embossing powder.
- When using coloured ink, always clean and dry the stamps between uses so that you don't transfer ink to your Versamark ink pad.
- I prefer to sprinkle the embossing powder soon after stamping the image, so I sprinkled the embossing powder before changing to a different stamp or colour.
- Photopolymer stamps are the best for this process because you can see exactly where you're stamping. The zig-zag stamp I used is rubber (one of the Clear stamp sets) so I used it first. I personally would only use a photopolymer greeting because I wouldn't have the courage to try to line up a rubber greeting stamp without the use of a Stamp-A-Ma-Jig - which would not be feasible.
 |
| The Botanical Builder adds more depth and movement and softens the layers |
'Til next time
Stephanie
Product List - To shop in my online store, click on one of the product images below (Australian Residents only)


No comments:
Post a Comment